Description
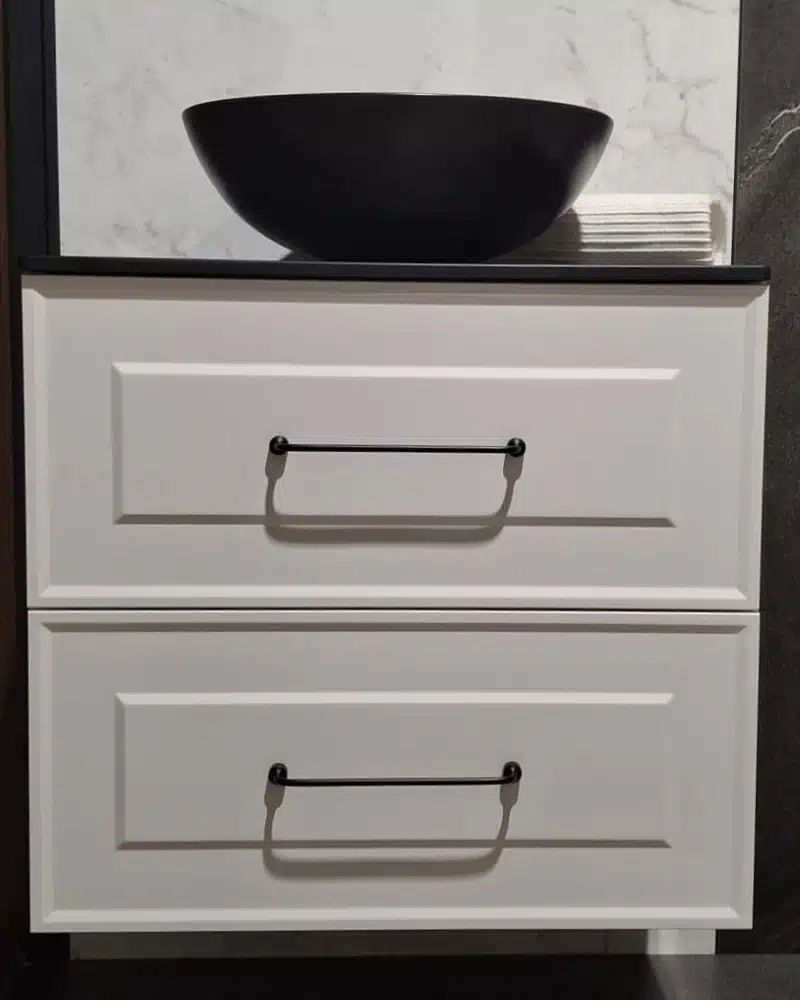
The Renoir bathroom furniture series will allow you to give your bathroom a pure and refined style.
The main differentiation of this series of bathroom furniture is found in its fronts, which combine quality, design, and functionality by being made with the latest 3D coating technology.
It is available in 7 matte finishes with trendy colors, which are the following:
- White Cotton: cozy, comfortable, pure, and bright.
- Blue Fog: fresh, serene, natural, and ambitious.
- Blue Night: Deep, mysterious, relaxing, and evocative.
- Macchiato: warm, elegant, approachable, and cozy.
- Black Velvet: elegance, sobriety, and authority.
- Anthracite: practicality, neutrality, reflection.
- Green forest: ecology, organic, intimate, and essential.
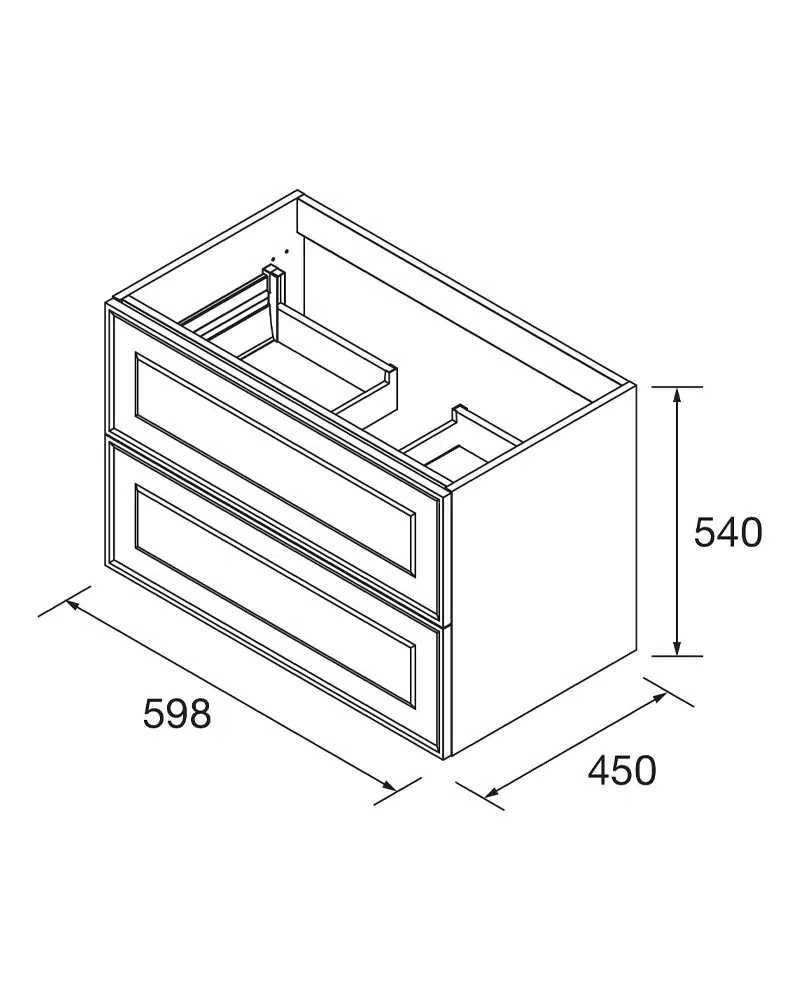
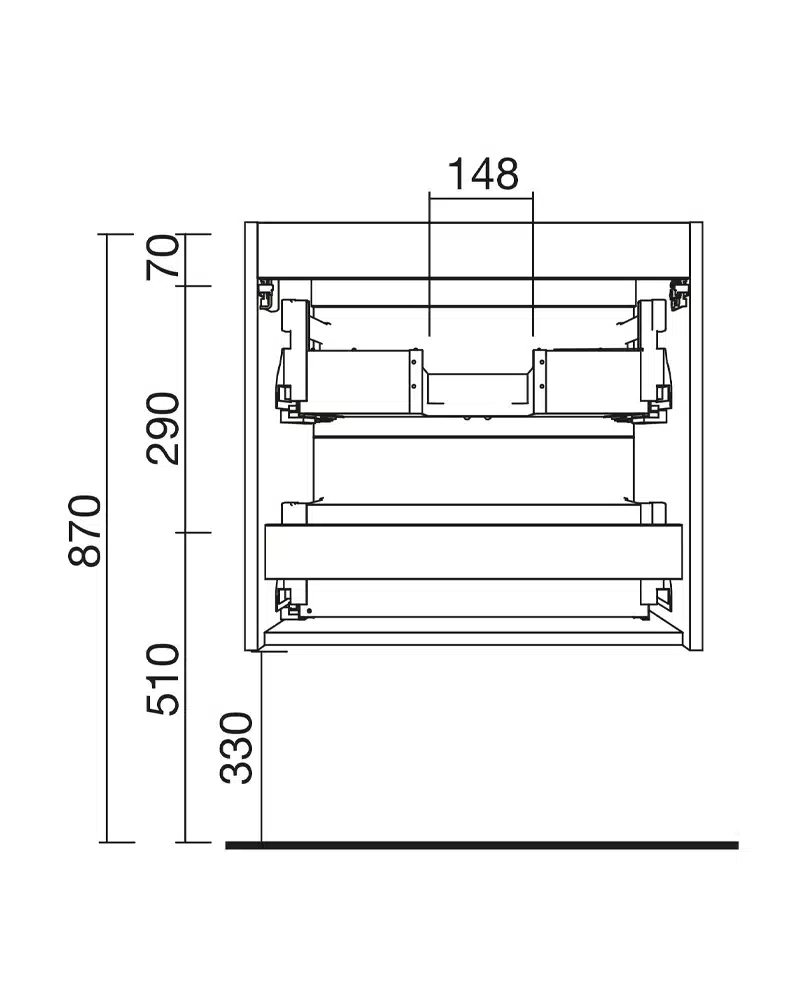
The bathroom furniture consists of two metal drawers with full extraction and Grass V8 guides, with a brake closure and a load capacity of 40kg.
The top drawer of this bathroom furniture has a siphon saver to accommodate both integrated and freestanding sinks. The bottom drawer has ample space to store all your personal hygiene products and utensils.
You will be able to create your completely unique bathroom furniture by combining it with different handles in various finishes.
With Renoir, you can have the most vintage and contemporary bathroom at the same time.
DOWNLOAD TECHNICAL SHEET
Installation Guideline
General Steps for Installing a Salgar Vanity:
Prepare the Wall and Choose Location:
Determine the ideal placement for your vanity and ensure the wall is suitable for mounting. You may need to use a stud finder to locate wall studs for secure attachment.
Mark and Drill:
Mark the position of the vanity on the wall and drill pilot holes for screws, ensuring they align with studs or are suitable for wall anchors if studs aren’t in the correct positions.
Mount the Vanity:
Secure the vanity to the wall using appropriate screws, potentially using shims to ensure it is level.
Install the Sink:
Install the sink to the countertop according to the manufacturer’s instructions, and if separate, attach the countertop to the vanity base with silicone sealant.
Connect Plumbing:
Install the faucet and drain assembly in the sink, and then connect the water supply lines and drain to your plumbing connections.
Check for Leaks:
Turn on the water and carefully check all connections for leaks before finishing.
Add Finishing Touches:
Secure any remaining components like doors, drawers, and hardware, and apply caulk around the edges for a finished look and to ensure water does not seep between the vanity and basin.
Manufacturer Instructions:
Always refer to the specific installation instructions provided with your Salgar vanity model, as steps and hardware may vary.